Preparing For Your Remodel
-

Set up for success
Whether you hire a professional, or you DIY, preparation plays a huge part in the success of your remodeling project. Here are some tips for you to get your home ready for the start of the project.
-

Bathrooms
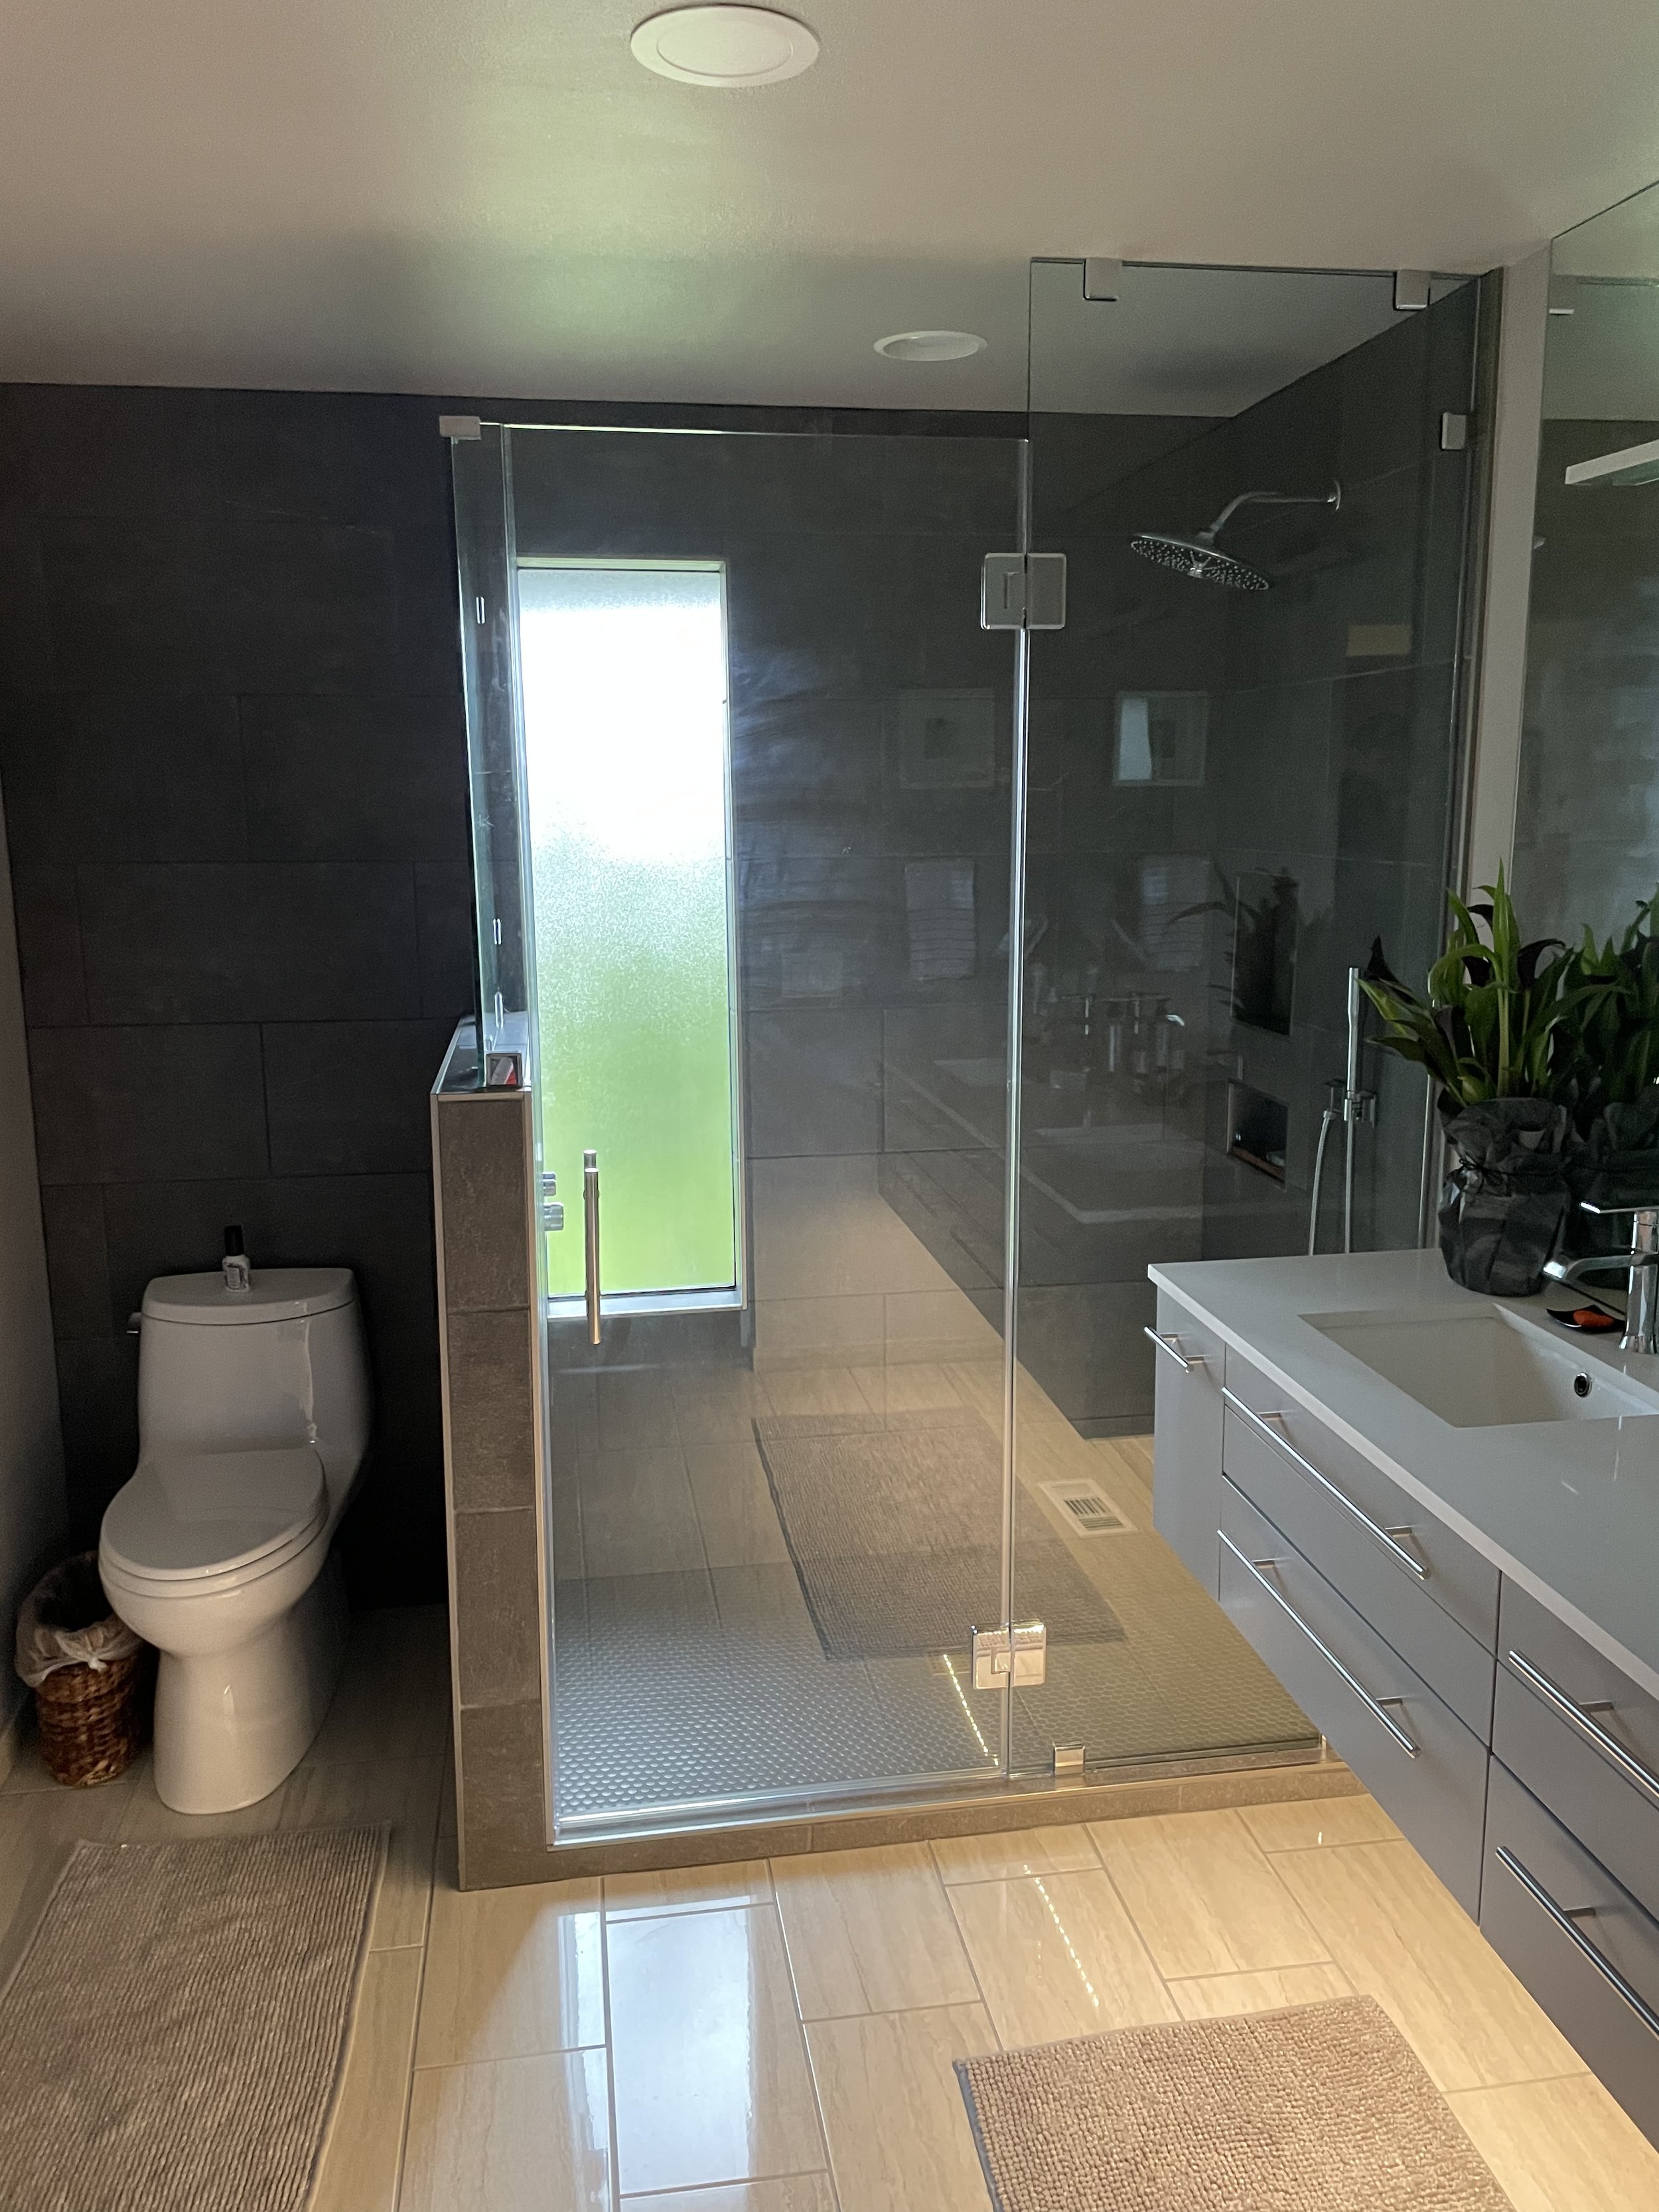
Remove all personal belongings from counters, cabinets, and shelves. It may help to get a few storage bins to put the odds and ends in while your remodel is happening. Move all items to a location out of the way of the work site. If your project is down a long hallway, or on a second or third floor, keep in mind you will have workers going to and from that location. Clear a pathway of any obstructing furniture, and remove any items hanging on walls that could hinder someone moving bulky items through your home.
-

Kitchens
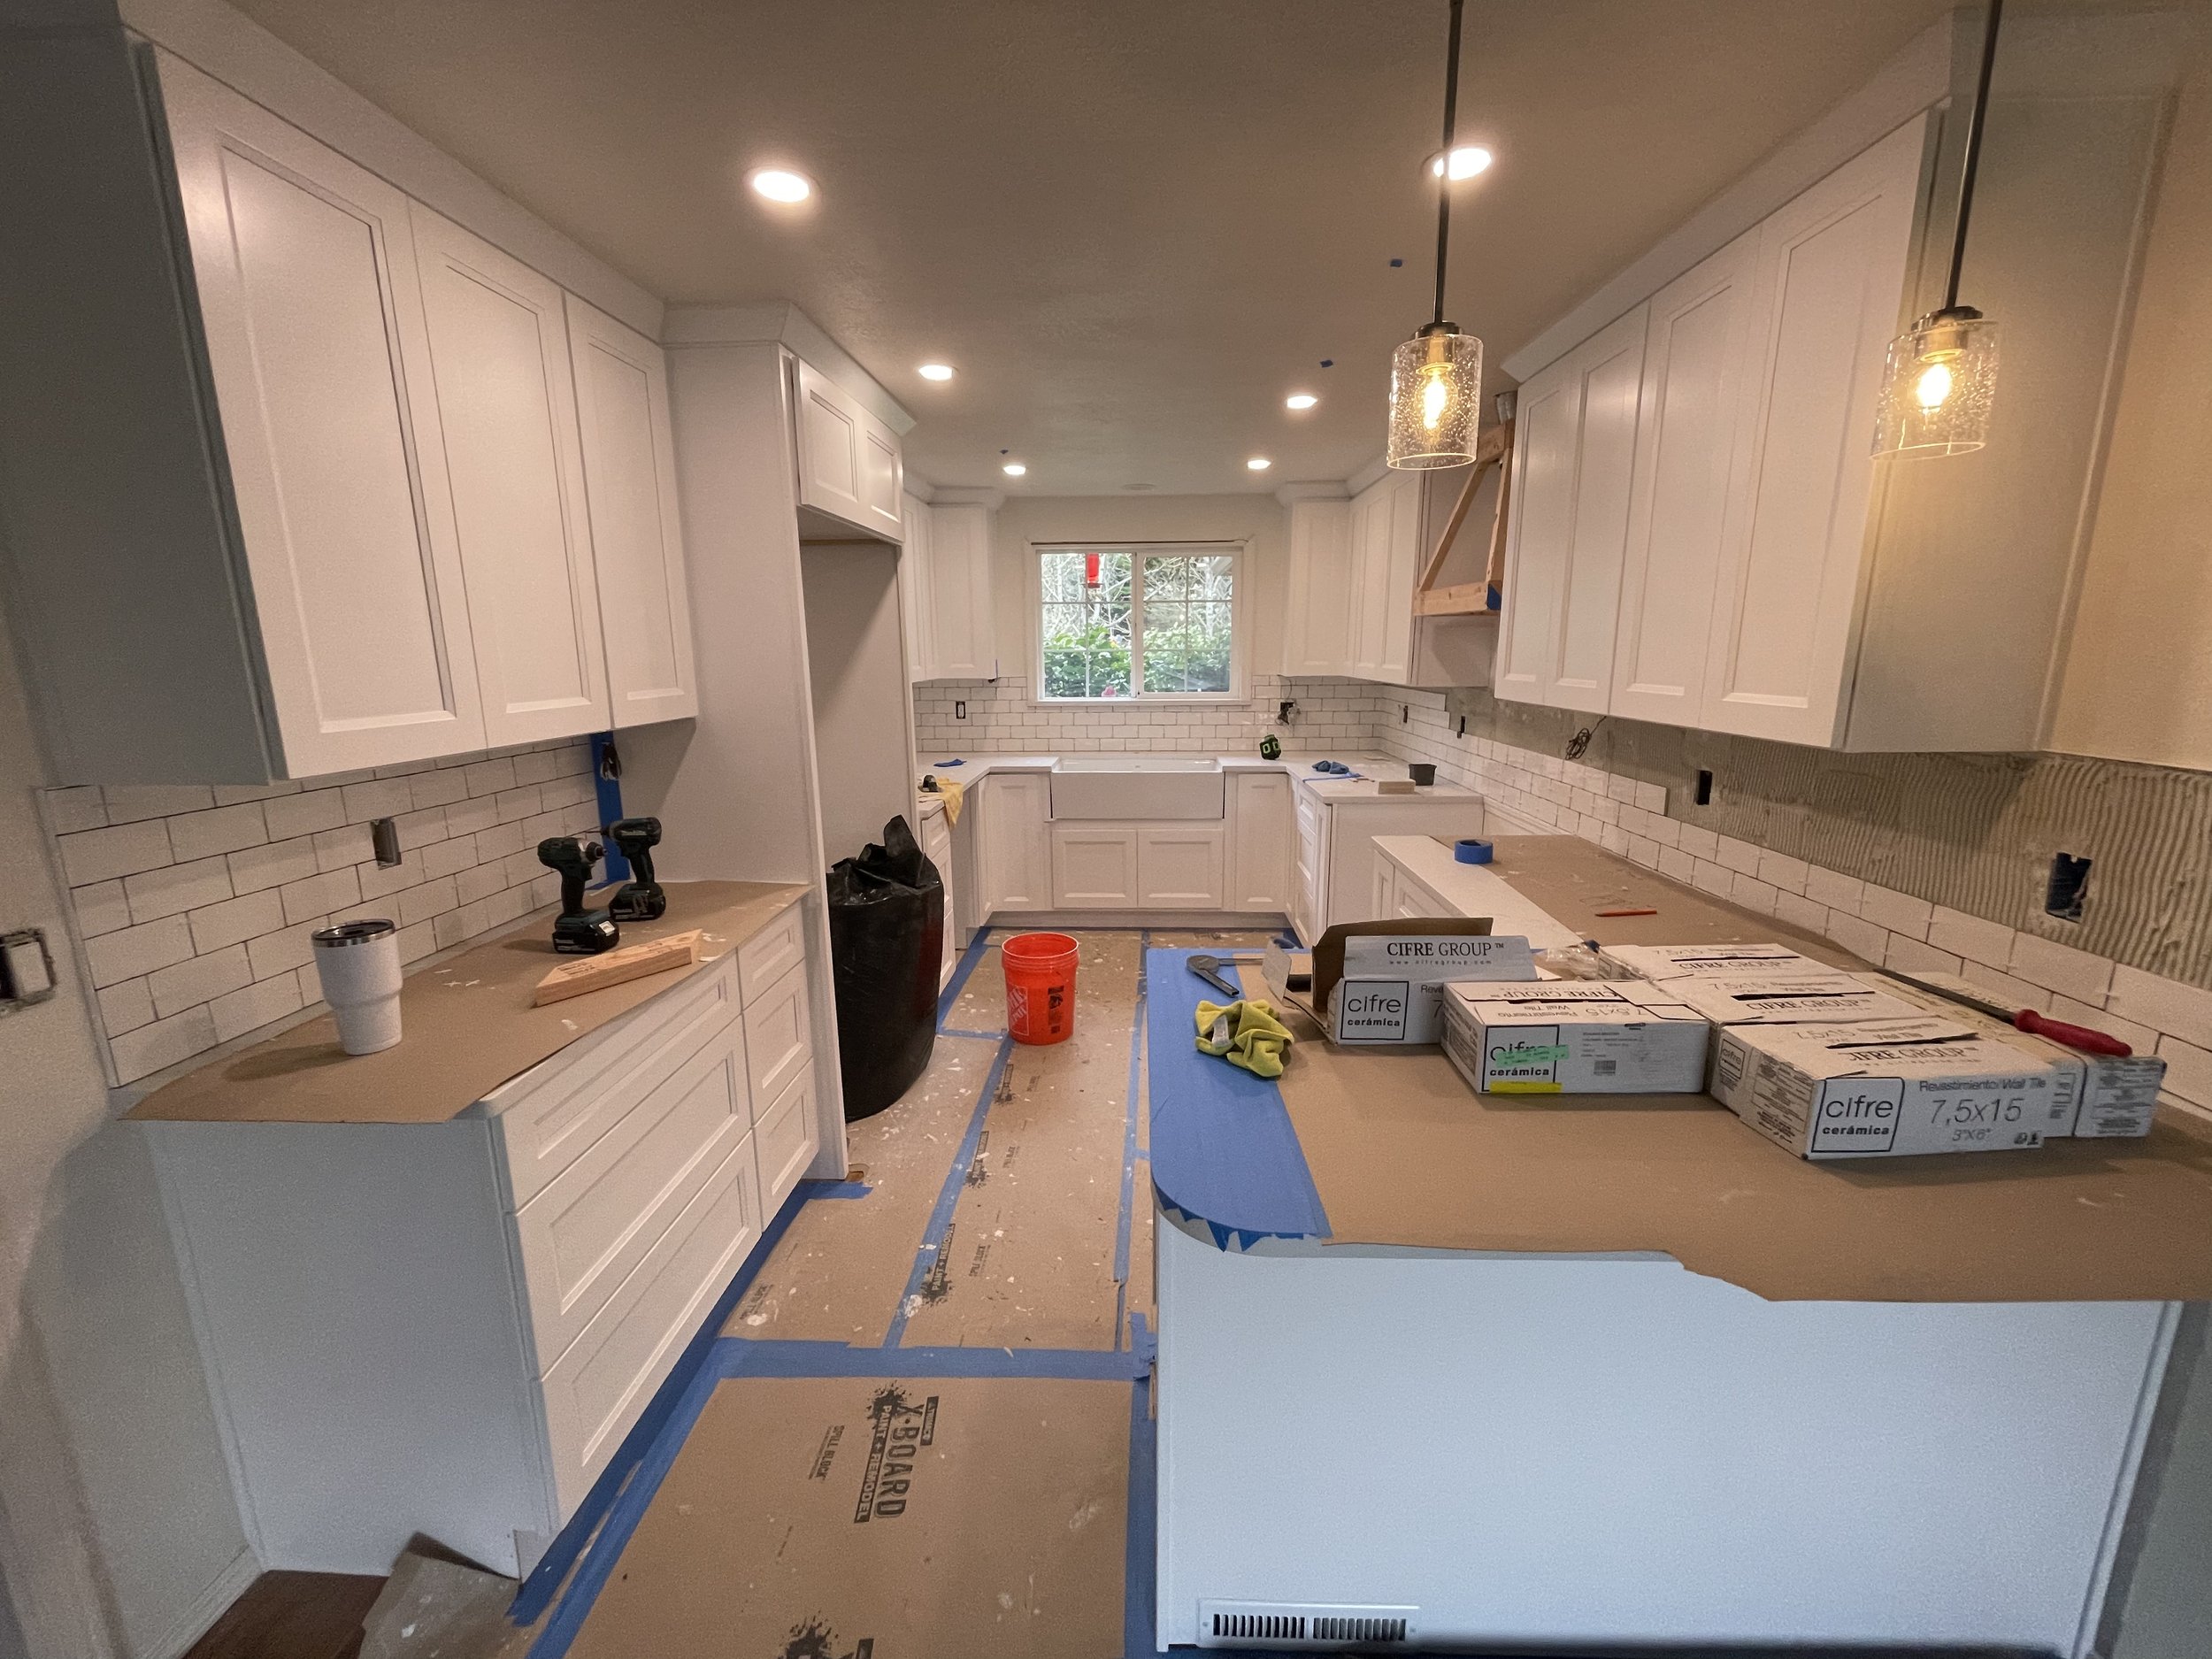
Kitchen remodels can be a major interruption. We totally get it! We do everything we can to limit the amount of down time you will experience in your kitchen. In preparation, you get to pack all of your kitchen belongings up into bins/boxes like you’re moving! (Yay! Fun!) everything should be removed from the countertops, and cabinets. You may want to leave a box of essentials easily accessible so you can still do basic cooking while your project is underway. We provide our clients with a 2 burner hot plate and a few wash basins so a limited amount of cooking can still happen while your kitchen is remodeled. Move all furniture away from the kitchen, and try to give as much of a work space as possible. Keep in mind we may need to stage new cabinets, appliances, and other materials adjacent to the kitchen. If you have space in the garage, we can also utilize that.
-

Flooring
So you’ve decided to redo the most used surface in your home, great choice! Like all the other projects, pack up all the odds and ends belongings, remove all items from any tables in the work area. If you are able, remove the furniture from the room completely. If not, don’t worry! We will do the heavy lifting. Just make sure to let us know beforehand.
-

Painting
Painting is a great way to freshen up a space or breathe new life into an older room. When getting ready to paint a room, here are some things you can do to help: Remove everything hanging on the wall and ceiling, and mark which picture hooks/screws are staying in place. We’ll remove all other hardware from the wall, then patch the holes before we paint. If your walls are particularly dirty or dusty, it helps to wipe them down, or bust out the ol’ shop vac to remove the cobwebs in the corner. Push all your furniture into the center of the room, leaving at least 4’ of space against the walls. We will cover all your belongings in painted plastic, and drop cloth the floors to avoid any paint drips on your floors or furniture.
-

What you can expect from Wellington Home Solutions
We treat your home like ours! Before we start a project, we lay down floor protection from the outside of your home, all the way to the room we will be working in. Our sites remain organized and tidy throughout the process with end of day sweep ups and vacuuming. If we’re going to be doing a particularly dusty project like drywall or sanding of any sort, we will create a plastic dust barrier to contain those fine particles as much as possible. At the end of your project, we thoroughly clean all the surfaces, and vacuum up any dirt/debris that popped up, followed by a quick mopping.
Anything we can do to avoid making a mess, we will do! We always cut outside unless completely necessary, and contain our tools and supplies to our extremely organized work trailer. Our only ask is that we can borrow some electricity to power our tools while we’re working on your home.
Our mission is to leave the space cleaner than when we arrived. Those corners in your entry with the piles of dog hair don’t stand a chance against us! If you find throughout the project that we aren’t doing a fantastic job keeping your space as tidy as you’d like, let us know so we can do whatever it takes to make it shine!

